Transform Your Home: A Comprehensive Guide to Removing Popcorn Ceilings
Transform Your Space: A Guide to Removing Popcorn Ceilings
Popcorn ceilings, once a popular design choice, have become outdated in modern interiors. Removing them can significantly enhance the aesthetic of your home. Whether you’re aiming for a smoother finish or simply updating your décor, here’s how to tackle the process effectively.
Why Remove Popcorn Ceilings?
- Modern Aesthetic: Achieve a sleek, contemporary look.
- Increased Property Value: Appeal to potential buyers with updated ceilings.
- Improved Lighting: Smooth surfaces better reflect light, brightening rooms.
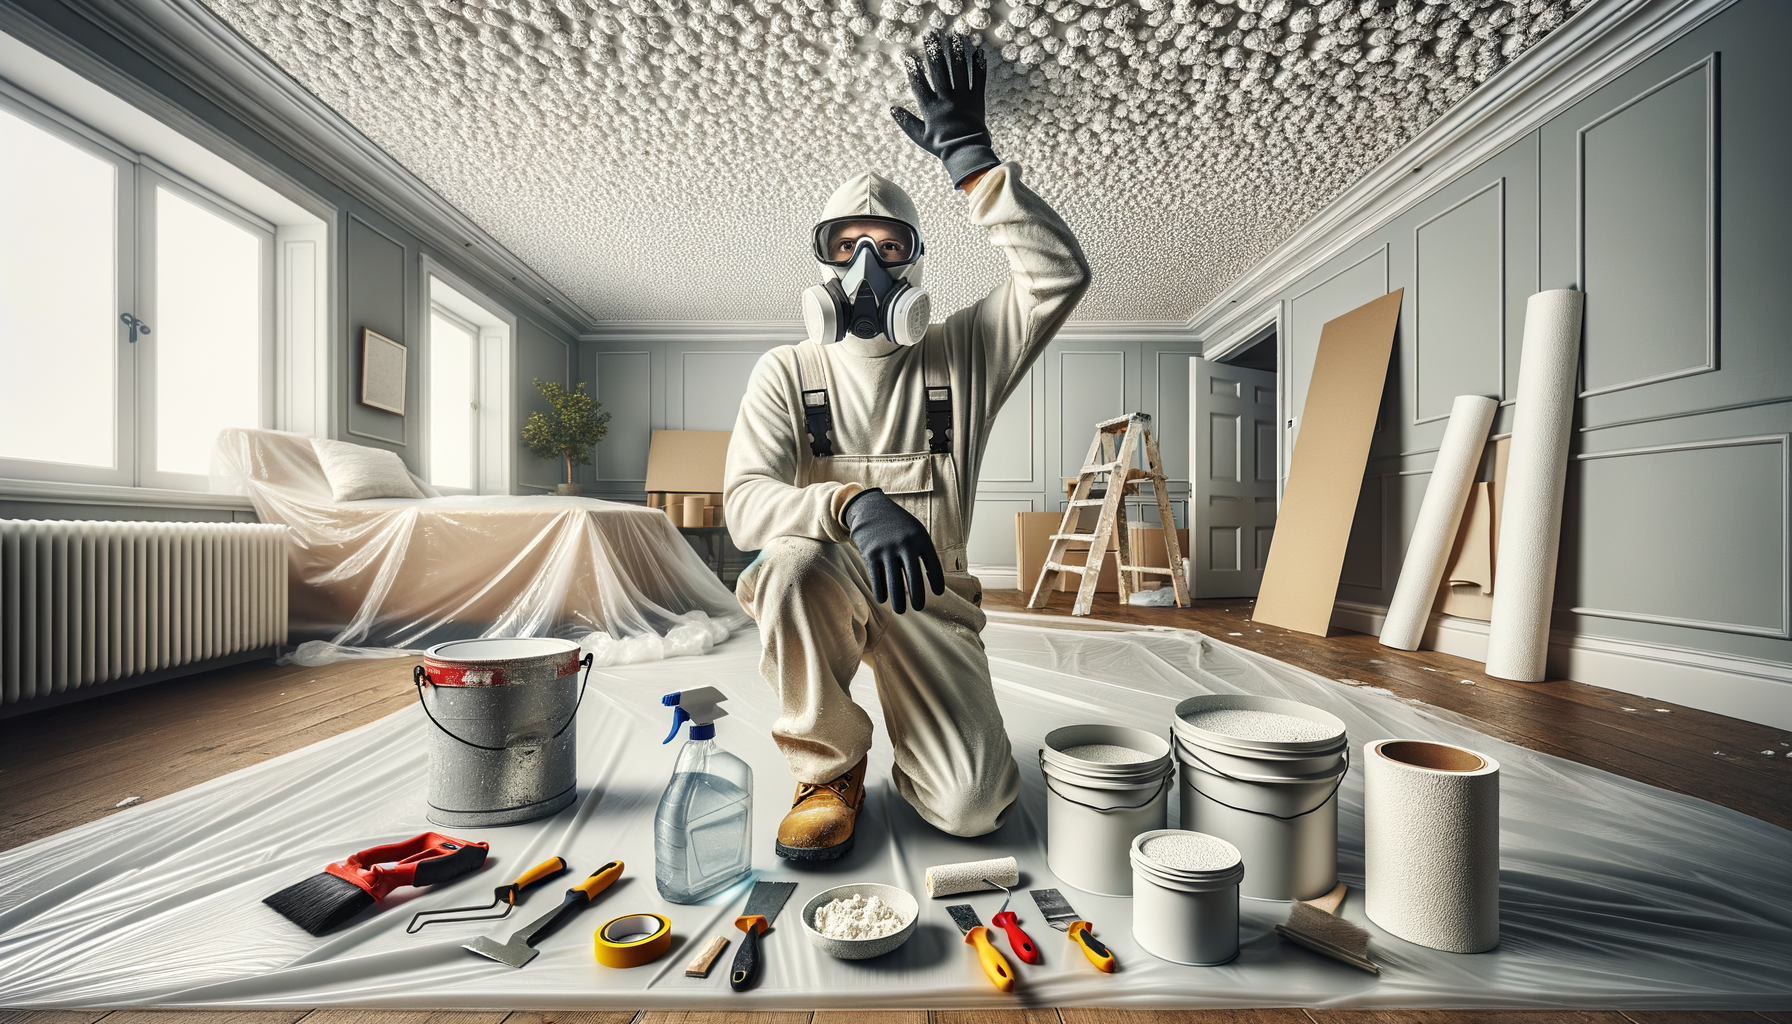
Essential Tools and Materials
- Protective gear: goggles, mask, and gloves
- Plastic sheeting and painter’s tape
- Spray bottle with water
- Putty knives or drywall scrapers
- Joint compound and sanding materials
Step-by-Step Removal Process
- Prepare the Room: Remove furniture and cover floors with plastic sheeting.
- Protect Yourself: Wear appropriate safety gear to guard against dust.
- Wet the Ceiling: Lightly spray sections with water to soften the texture.
- Scrape Off the Texture: Use a putty knife to gently remove the popcorn.
- Repair and Smooth: Apply joint compound to any imperfections and sand once dry.
- Prime and Paint: Finish with a primer followed by your chosen paint color.
Consider Hiring a Professional
While DIY removal is possible, it can be labor-intensive and time-consuming. Professionals bring expertise and may handle issues like asbestos, ensuring safety and quality results.
“Removing popcorn ceilings not only revitalizes your home’s look but also allows for better lighting and a cleaner atmosphere.”
Final Thoughts
Updating your ceiling can make a significant difference in your home’s appearance. By following these steps or consulting with a professional, you can achieve a fresh, modern look that enhances your living space.