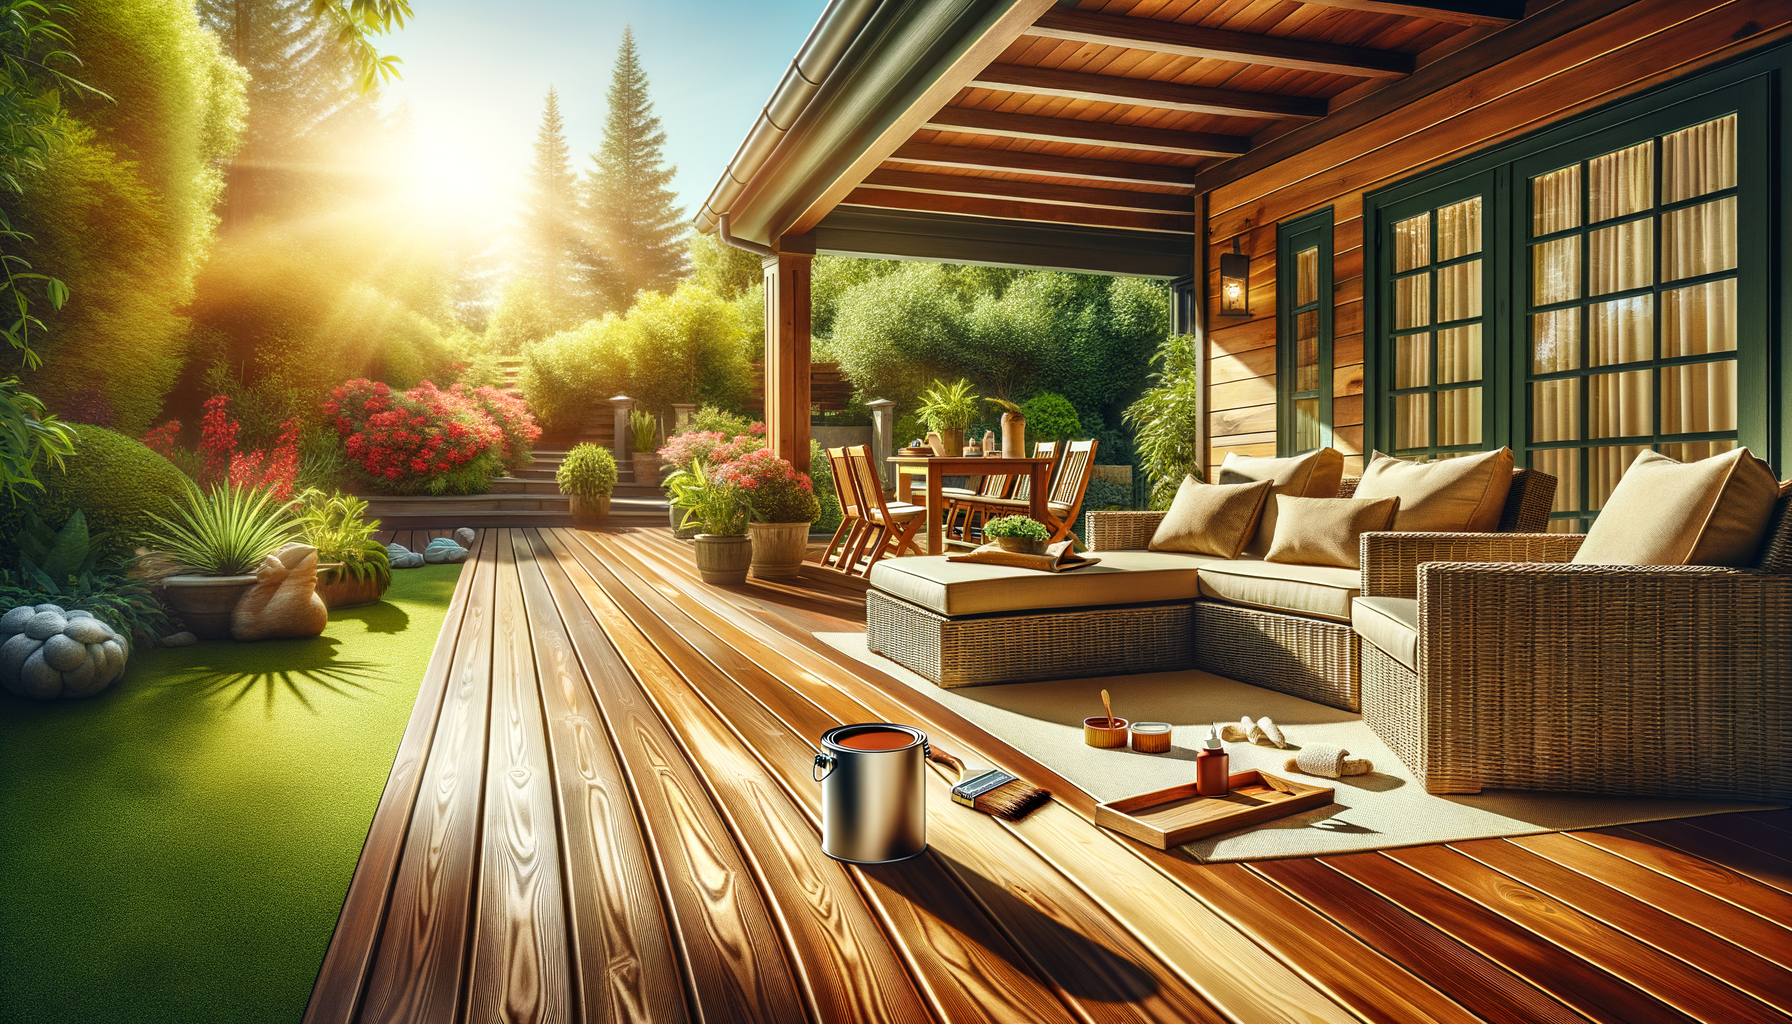
Revitalize Your Outdoor Space: A Step-by-Step Guide to Staining Your Deck
Preparing Your Deck for Staining
Before applying any stain, proper preparation is crucial to ensure a long-lasting finish. Start by cleaning the deck thoroughly.
Step-by-Step Cleaning Process
- Remove Debris: Sweep the deck to eliminate leaves, dirt, and other debris.
- Wash the Surface: Use a deck cleaner or a mixture of water and mild detergent to scrub the wood.
- Rinse and Dry: Rinse the deck with clean water and allow it to dry completely, preferably overnight.
Choosing the Right Stain
Selecting the appropriate stain type is essential for both protection and aesthetics.
Types of Stains
- Transparent Stains: Highlight the natural beauty of the wood while providing minimal protection.
- Semi-Transparent Stains: Offer a balance between color enhancement and wood grain visibility.
- Solid Stains: Provide maximum protection and hide wood imperfections effectively.
“Choosing the right stain not only enhances the appearance of your deck but also extends its lifespan by protecting it from the elements.”
Application Techniques
Proper application ensures an even and durable finish. Follow these steps for the best results.
Tools You’ll Need
- Paintbrushes or rollers
- Paint tray
- Painter’s tape
- Drop cloths
Applying the Stain
- Start at one end of the deck and work your way to the other to maintain a wet edge.
- Use long, even strokes to apply the stain uniformly.
- Pay special attention to high-traffic areas and edges where wear is more likely.
- Allow the stain to dry completely, typically 24-48 hours, before using the deck.
Maintenance Tips
To keep your deck looking great, regular maintenance is key.
- Clean the deck annually to remove dirt and debris.
- Inspect for any signs of damage or wear and address them promptly.
- Reapply stain every few years, depending on the climate and usage.
“Consistent maintenance not only preserves the beauty of your deck but also safeguards your investment for years to come.”
Staining your deck is a manageable DIY project that can significantly enhance your outdoor space. With the right preparation, materials, and techniques, you can achieve a professional-looking finish that stands the test of time.