Transforming Brick: A Fresh Take on an Age-Old Surface
Brick walls carry timeless appeal, but a fresh coat of paint can breathe new life into any space. Whether you’re aiming for a sleek urban vibe or a cozy rustic feel, painting brick offers endless possibilities. Below, discover proven techniques, essential prep steps, and expert advice to achieve a flawless finish.
1. Preparing Your Brick Surface
Proper preparation ensures paint adhesion and long-lasting results:
- Clean thoroughly with a stiff brush and mild detergent.
- Repair cracks or crumbling mortar with patching compound.
- Allow full drying—brick absorbs moisture, so patience is key.
2. Selecting the Right Paint and Primer
Not all paints are created equal. For brick surfaces:
- Use a high-quality masonry primer to seal pores and block efflorescence.
- Opt for elastomeric or acrylic latex paint designed for exterior surfaces.
- Choose a finish: matte hides imperfections; satin or semi-gloss resists stains better.
“A quality primer can improve paint longevity by up to 50%.”
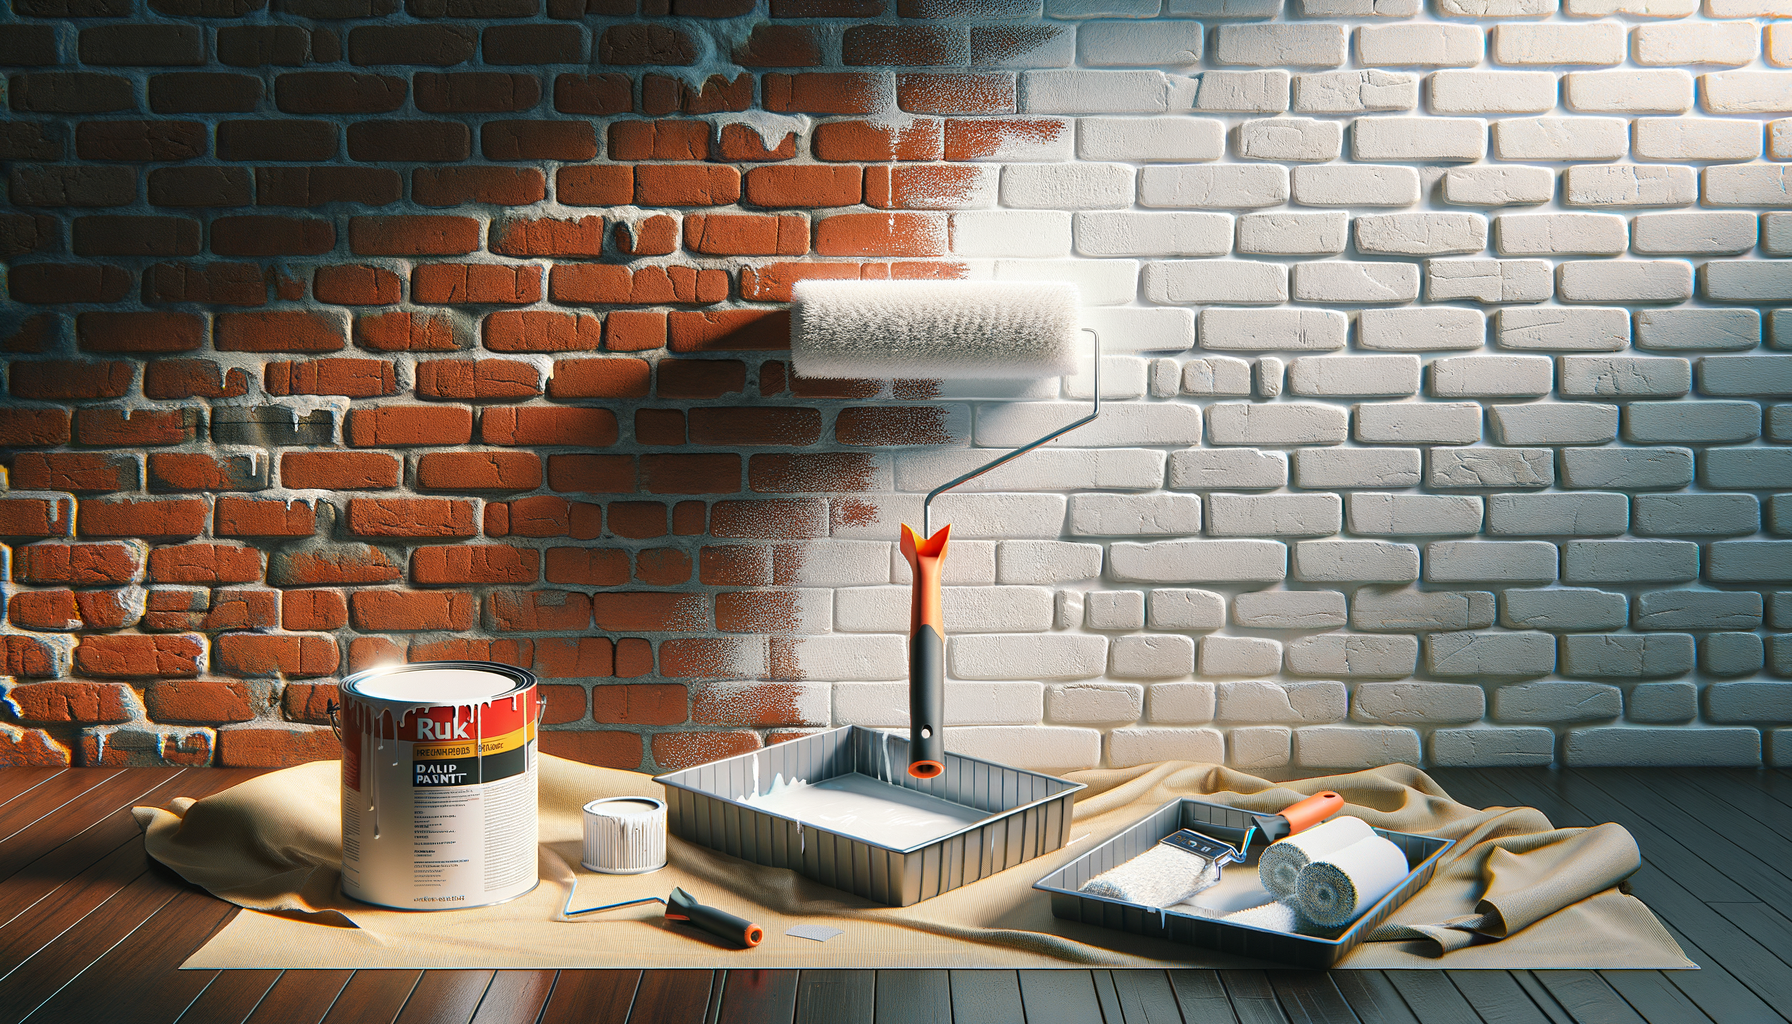
3. Application Techniques
Consistency and method matter when covering textured surfaces:
- Work in small sections—paint dries fast in warm weather.
- Use a roller with a thick nap for broad areas; touch up crevices with a brush.
- Apply two thin coats rather than one heavy coat to prevent drips.
4. Caring for Painted Brick
Once your wall looks brand-new, here’s how to keep it that way:
- Regularly hose down with water to remove dust and pollen.
- Reapply touch-up paint each season, especially in areas exposed to heavy rain.
- Avoid power washing—high pressure can strip paint off masonry.
Bold care routines can extend your paint’s lifespan by several years.
Wrap-Up
Painting brick is a rewarding DIY project that dramatically changes your home’s look. With careful prep, the right materials, and consistent maintenance, your painted brick will stay vibrant for years. Get started now, and enjoy a stunning backdrop that’s uniquely yours!